
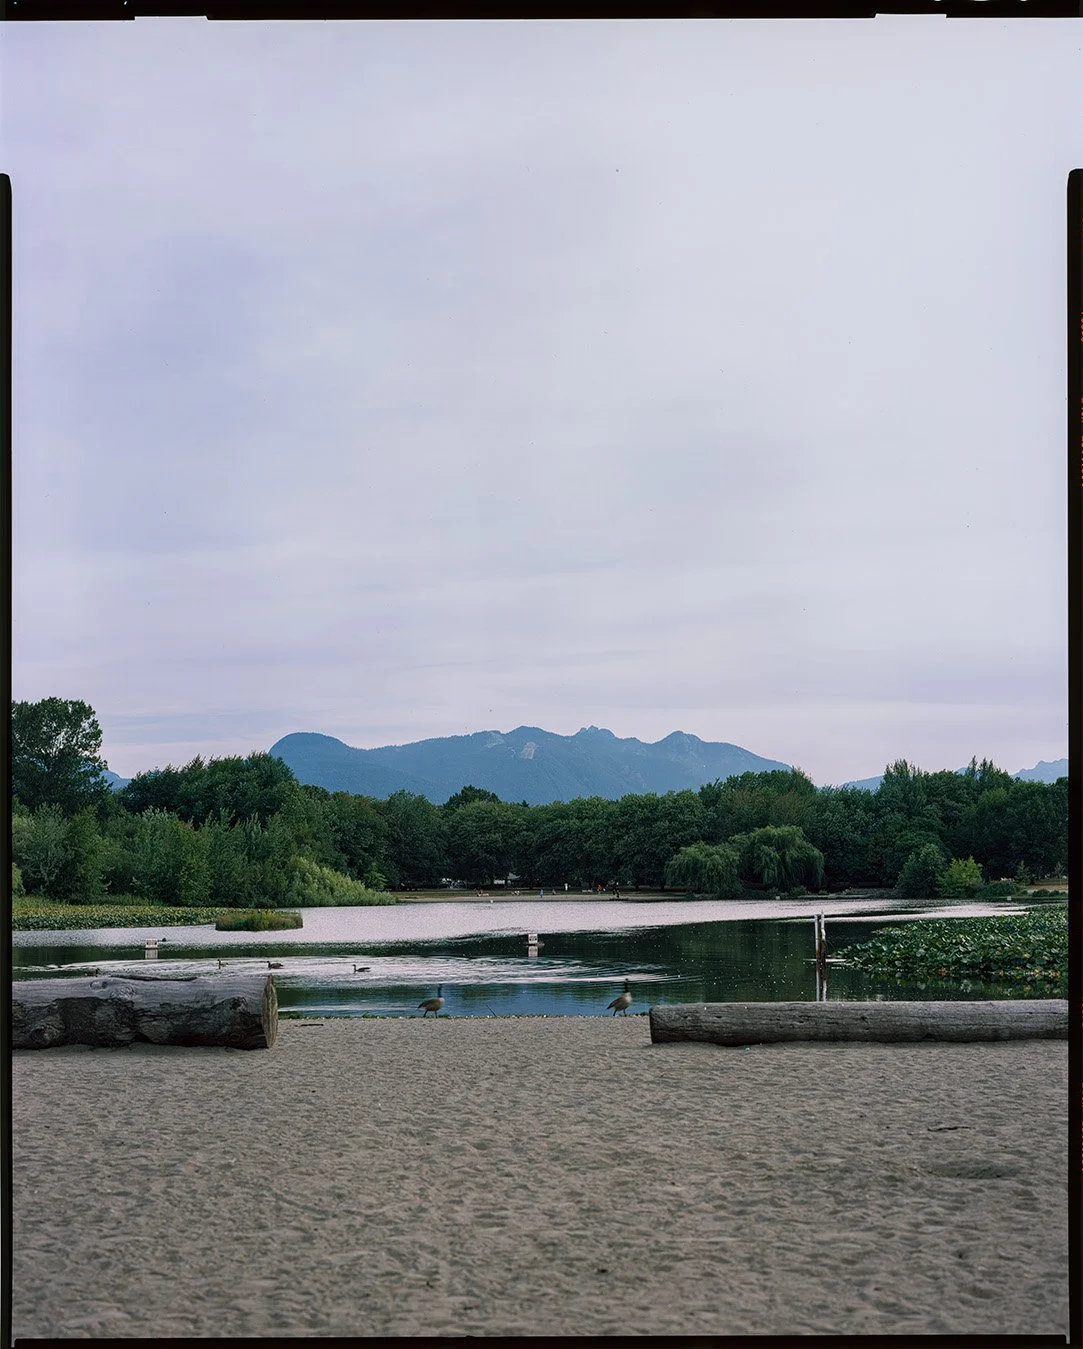
Nothing really to add. Just an 8×10. Provia is really unforgiving with the dynamic range. It is really good on sharpness and resolution, but you need to use filters or have an scene with a very narrow number of stops.
Why Provia is hard on 8×10
Provia 100F is an E6 slide film, which means the film itself is the final image. There is no negative to print from and no forgiving latitude to pull detail back later. On a small camera you can bracket and pick the best frame. On 8×10 every sheet is expensive and loaded one at a time, so a blown sky or a blocked shadow is just a wasted sheet. Slide film gives you roughly five usable stops before the highlights clip, and a scene like this lake can easily hold more range than that between the bright water and the shaded trees.
What it takes to get it right
The answer is filters and discipline. A graduated neutral density filter holds the sky down to where the land sits, and a careful spot meter reading of the brightest and darkest parts I care about tells me whether the scene fits at all. If it does not, I either wait for the light to flatten or I do not make the frame. That sounds joyless but it is the opposite. Working inside a narrow latitude forces you to actually read the light before you commit, and when a slide comes back right it has a sharpness and a colour that a negative never quite matches.
Why test it at all
This frame was a test, and testing is the point. Before I take a film somewhere that matters I want to know exactly how it behaves, how much shadow it holds, where the highlights give up, how it scans. Provia scans beautifully once you know its limits, because a slide carries its own reference, what you see on the light table is what the film recorded, so there is no guessing at a correct colour the way there is with a negative. The cost of learning that is a few wasted sheets on a quiet lake, which is a cheap price compared to finding out on a shoot you cannot repeat. Provia rewards restraint, which is a strange thing to say about a hobby that already asks you to carry a suitcase of camera into the woods.
Scanning the slide
The last step is the scan, and slide film changes how that goes. A negative has an orange mask and an inverted image, so the scanner and the software are guessing at a correct colour and you correct from there. A slide is positive and finished, so what sits on the light table is the reference. I scan these in SilverFast and my job is mostly to not get in the way, match the scan to the slide, pull the file at full resolution, and leave the colour where the film put it. On an 8×10 sheet that full resolution scan is an enormous file, which is the whole reason to shoot this big in the first place.